Relic of the Hollow King
Implementing Audio & Video Settings
Hello! I am Nikole Chua, the primary UI programmer for Relic of the Hollow King!
Last week I implemented the player HUD and general menus (Main menu, pause menu, and settings menu) for Relic of the Hollow King. This week, one of my main focuses was getting the settings menu to actually be functional. Getting the settings menu to work means that the user or player should be able to make changes to some of the game's technical features (in this case, audio and video settings) through the menu, have those changes actually affect the parts of the game those settings are for, and then have it persist throughout the game and when the player open and closes the game.
What I first changed in the menus was the actual look of them. Last week, the settings menu was built, and it was able to switch between the audio and video settings. However, each tab of the settings menu was filled with placeholder text and widgets.
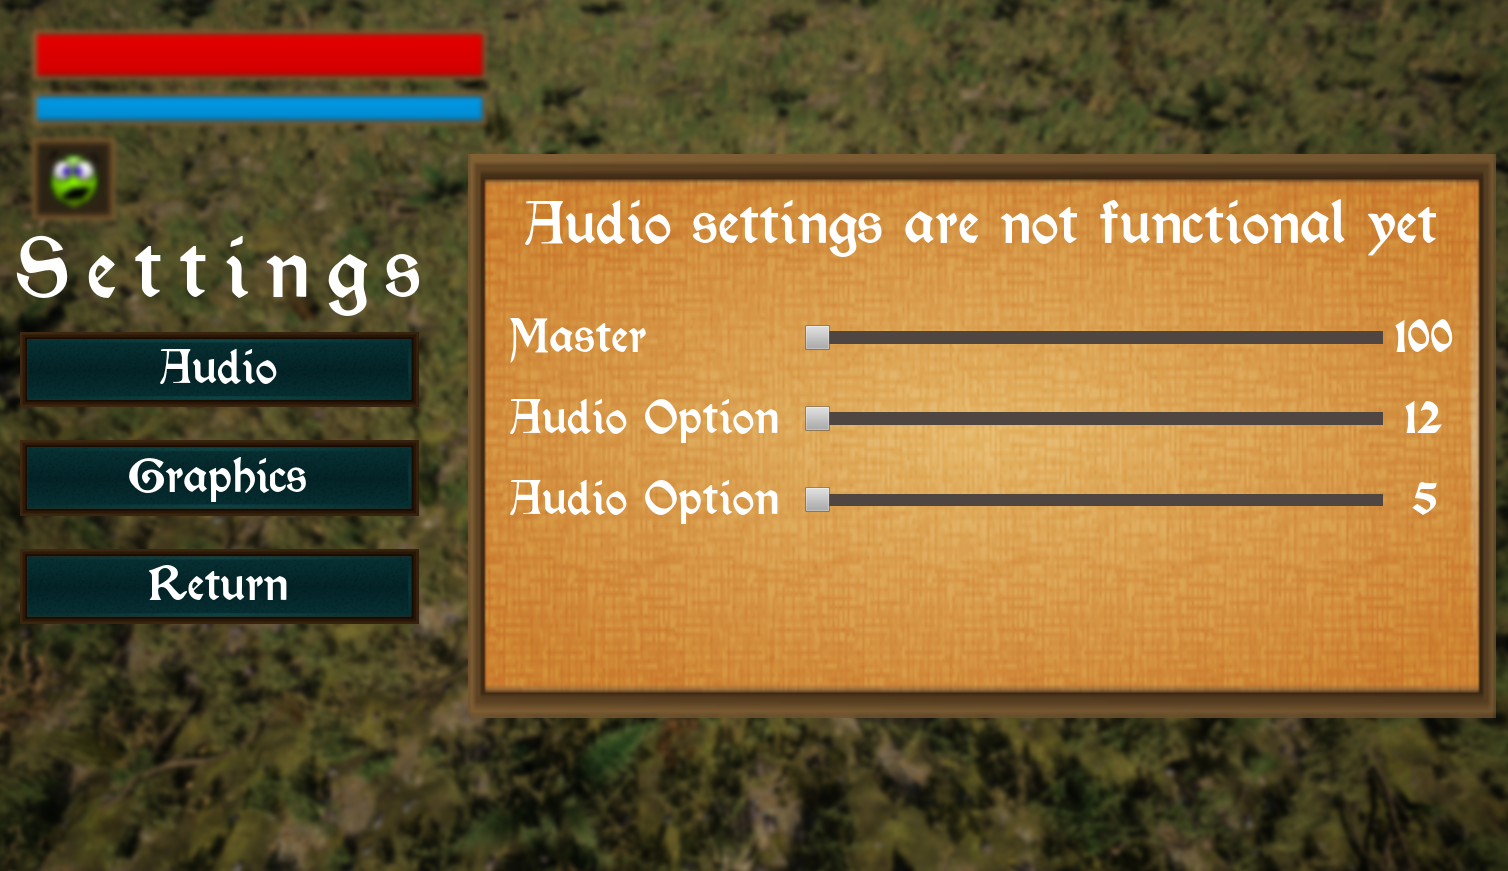
This is the settings menu from last week's blog post regarding the game's UI. Same as last time, there is text stating the settings are not functional, along with other filler text.
But with this week, I updated the audio and video settings to match more of the general style of the game's UI (the slider buttons specifically now have custom images), and they now have options fitting to their category.
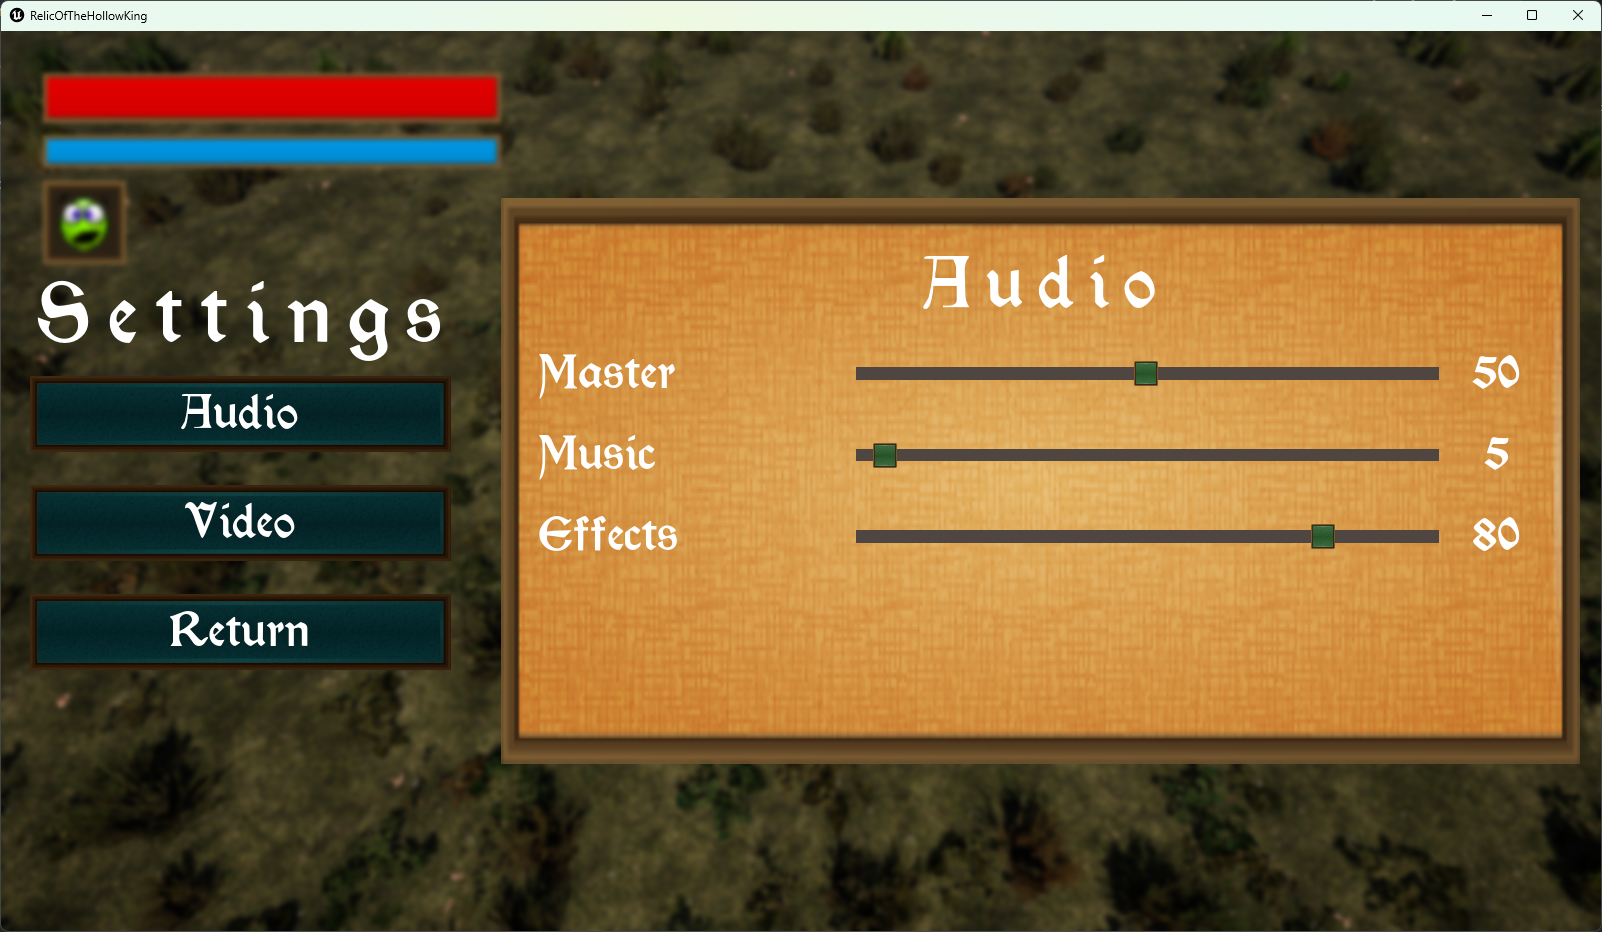
The new audio options. The sliders are named properly after what audio option they control, with these labels to the left of the sliders, and the numbers, to the right of the sliders, match the position/value of the sliders.
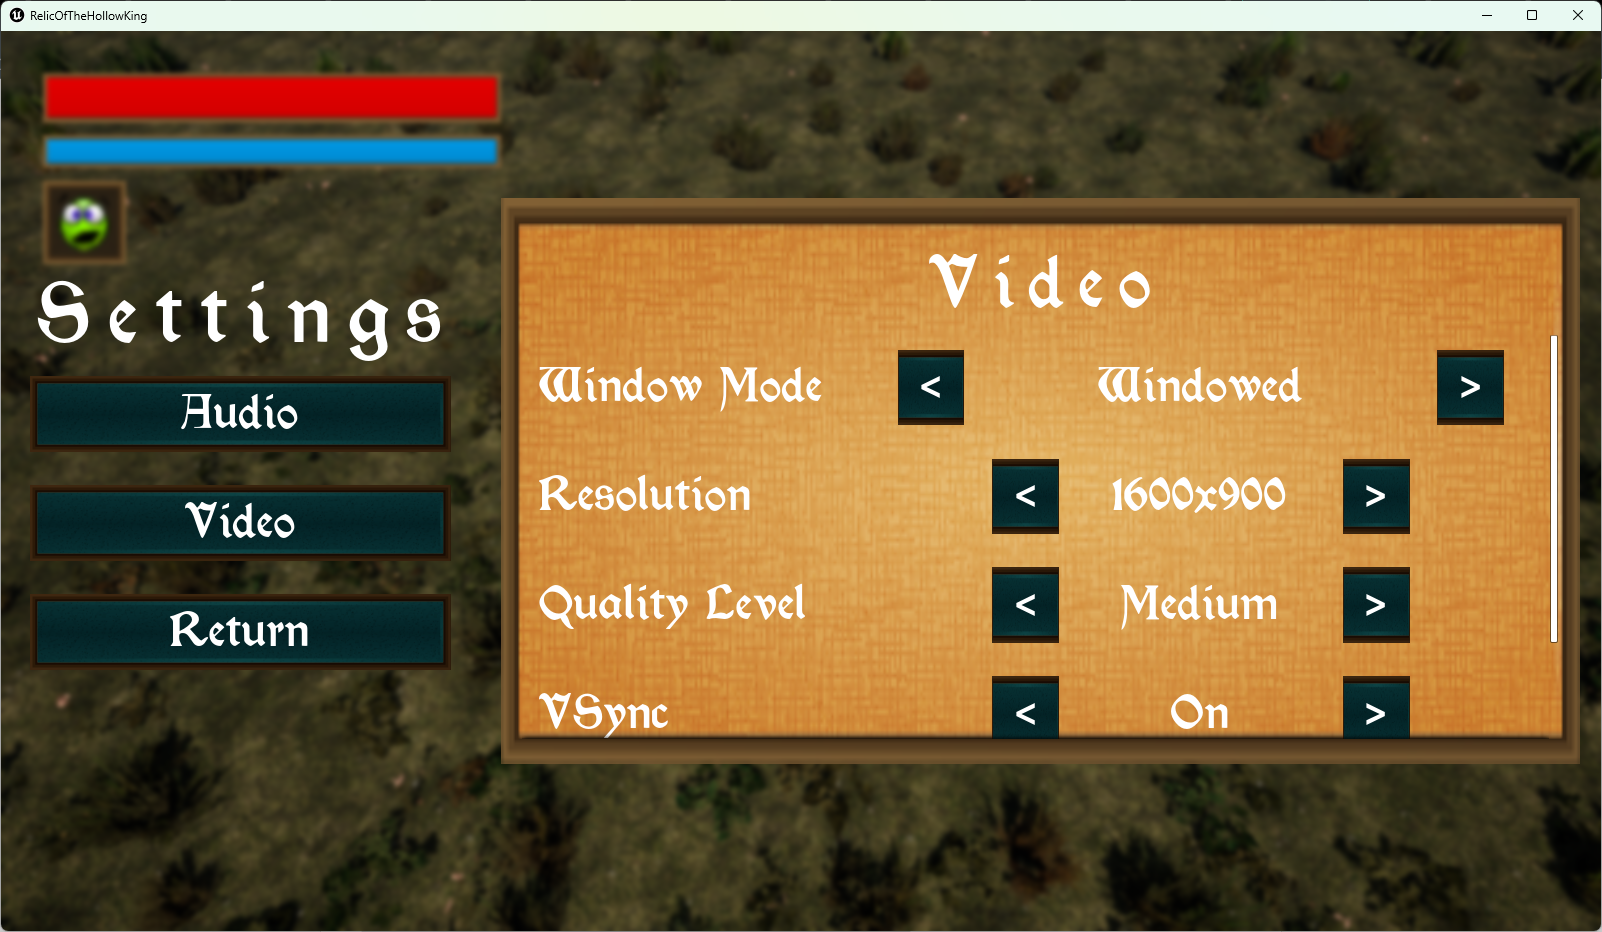
The video options were not shown last week, but it was essentially a copy-and-paste of the audio options tab. Now the video tab has options relating to the video settings of the game, with left and right buttons that change the current options. There is even a scrollbar to the right of the options, which if scrolled all the way down, will show the apply button that allows the user to apply the video options they have chosen.
With the in-game interface updated for the settings menu, it's now time to discuss the actual implementation of the settings.
Getting the audio settings was actually easier than I had expected. Within Unreal Engine, there are objects called Sound Classes and a Sound Class Mix. Sound Classes can be attached to Sound Cues (these objects are the actual sound files made usable for the game), and these Sound Classes are essentially the way you can control all Sound Cues that are under that Sound Class. You can also make Sound Classes that are the parents/children of other Sound Classes. With that, I essentially made Sound Classes for each of the audio options: Master, Music, and Effects. I assigned the Sound Cues in our game to the Sound Class they belonged to (either Music or Effects), and then I made it so the Music and Effects Sound Classes were the children of the Master Sound Class. Finally, the Sound Class Mix is a component that holds an array of Sound Classes and, in code, the Sound Class Mix is what's used to change the volume of the Sound Classes.
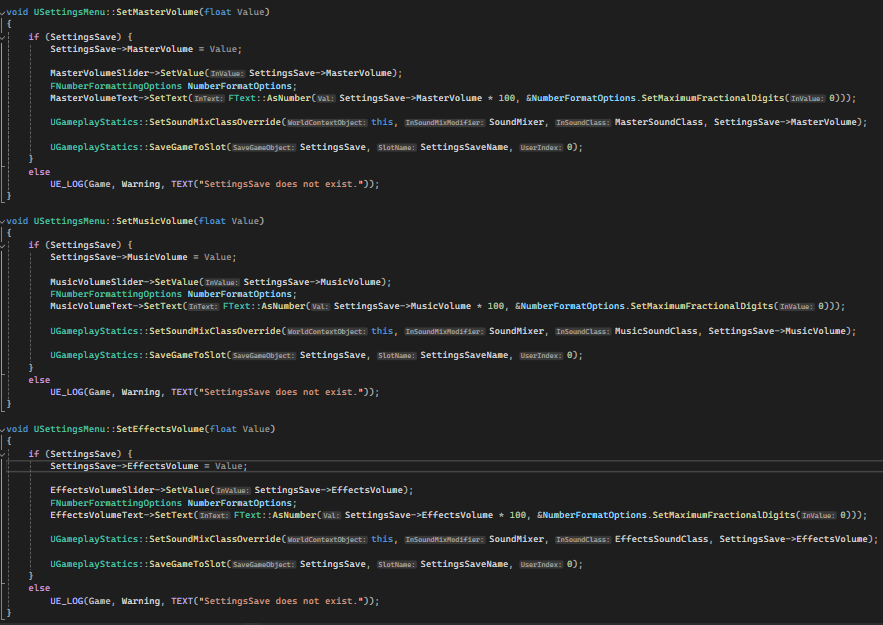
This is the code for changing the audio settings. These functions are bound to the sliders in the settings menu, meaning that every time they're changed, the audio settings are saved immediately.
These settings are then stored in a Save Game object that Unreal Engine has. The Save Game object saves specific values that you assign to it and what is saved in them will persist as long as they're called from and saved to their assigned slot name. As shown in the screenshot above through the UGameplayStatics::SaveGameToSlot function calls.
With the video settings, Unreal Engine actually handles any video-/graphics-related things itself. Certain values just need to be given to the engine and it'll change the graphics of the game depending on what its given. The values the engine uses is saved within a UGameUserSettings class, and then that class has functions programmers can use to change those values. Within code, the settings menu of the game has its own variables that store the values that the user has selected using the buttons in the video tab of the settings menu. Once the user is ready to change the video settings, they'll need to hit the apply button at the bottom of the video options tab. In code, when the apply button is pressed, it'll call the functions that update the video settings of UE, plugging in the settings menu's variables to update those settings, and then finally, an ApplySettings function is used to save these settings and change the look of the game.
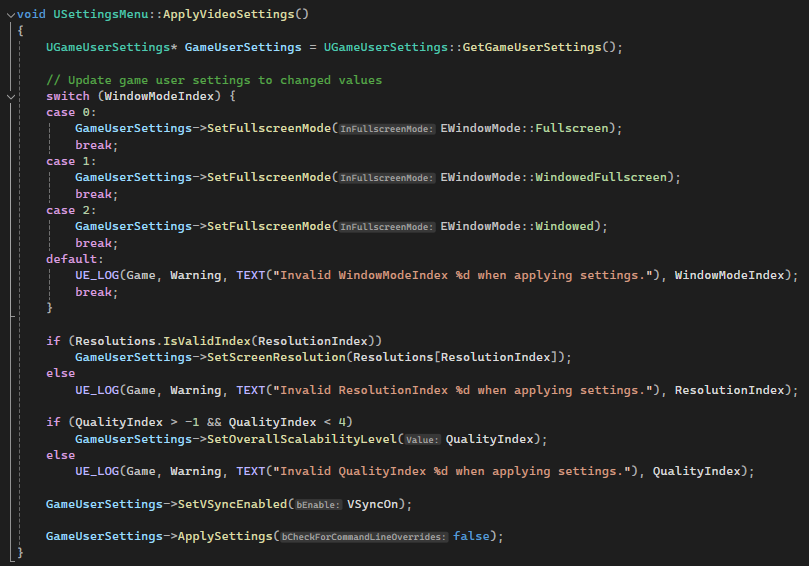
The code of the function, ApplyVideoSettings(), that is bound to the Apply button whenever it is pressed.
With the video settings implemented, the user can now change the look of the game to how they prefer or so that they can run the game more smoothly.
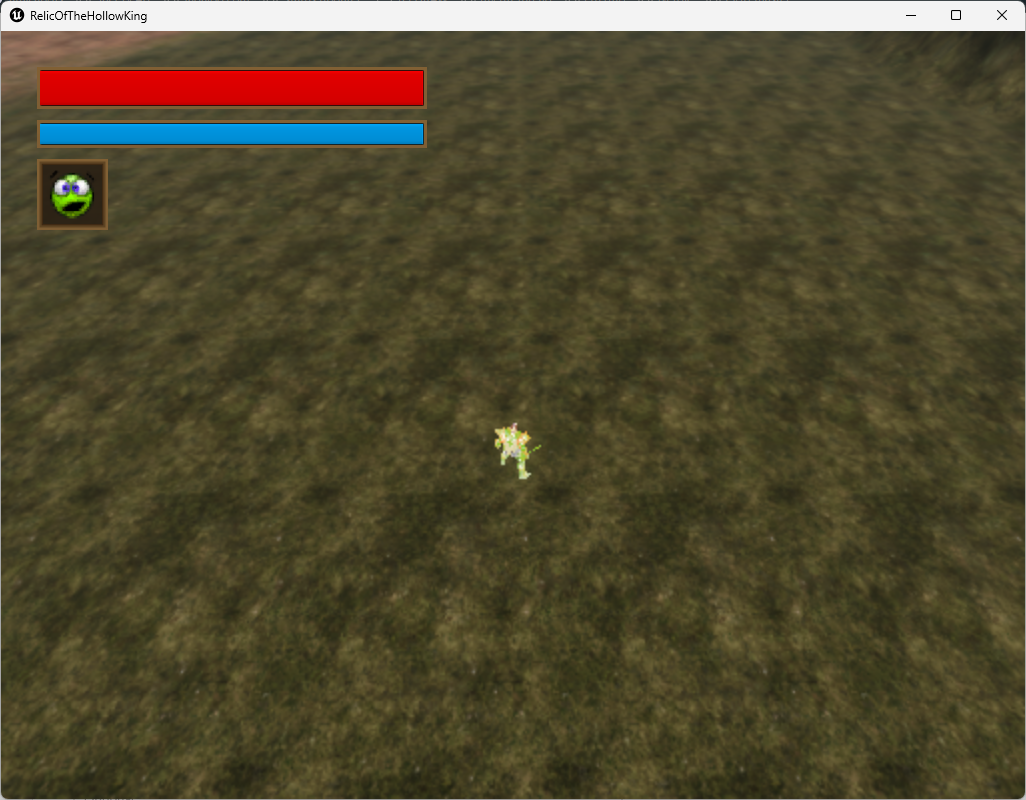
This is how the game looks with the lowest graphics quality, in windowed mode, and with a screen resolution of 1024x768.